intro to infrastructure as cells
intro⌗
Everyone knows that pain: you spend hours upon hours dealing with some software your management insists on using while all you really want to do is work with what really matters: spreadsheets.
Just imagine the world where instead of slogging through GUIs, debugging code and dealing with merge checks etc., all you needed to do is just fill in the cells, input formulas and apply table formatting. No more would you need to ever leave the warm embrace of inventory spreadsheets - they shall become your ultimate single pane of glass for anything in your infrastructure.
Well, I have some good news for you: today is the day we challenge the status quo and move on from the overcomplicated Terraforms, Openstacks and VMwares of the world. We shall embrace the future and the cloud. It is the day when we finally start to automate with Excel!
To showcase this groundbreaking approach to managing a modern Spreadsheet-Defined Datacenter (SDDC), we are going to implement a simple VM inventory spreadsheet which will deploy and manage the machines for us in vSphere*.
*you can apply a similar approach to AWS, Google Cloud etc; budget cuts prevented me from using them in this demo
1: prerequisites⌗
Before we move on to the Infrastructure as Cells (IaC) design, we need to ensure our environment is ready for the innovation:
- if you decide to use Office365 version of Excel, make sure you connect the vCenter VM directly to a public network and open all incoming ports. We don’t want anything getting in the way of progress
- you might want to refresh your knowledge on TypeScript and JavaScript - language used in Excel automation, OfficeScript, is like a bastard son of the two
2: the spreadsheet⌗
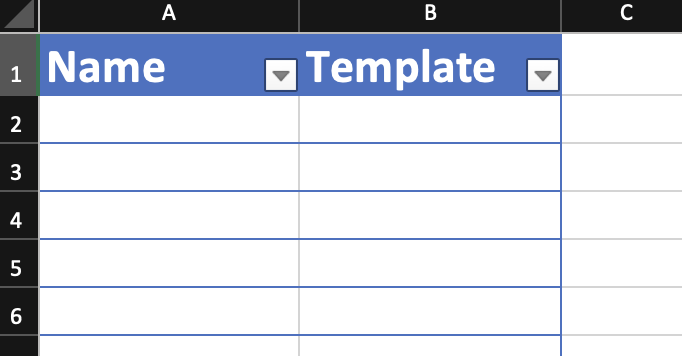
Now, let’s move on to the core product behind this design - Microsoft Excel. Let’s open up a new spreadsheet and create a baseline fields for our automation/inventory. To keep it simple, let’s start with something like on the image below. You can of course expand it to your wildest needs or desires - deploying code via pipelines, configuring bare-metal… everything is possible.
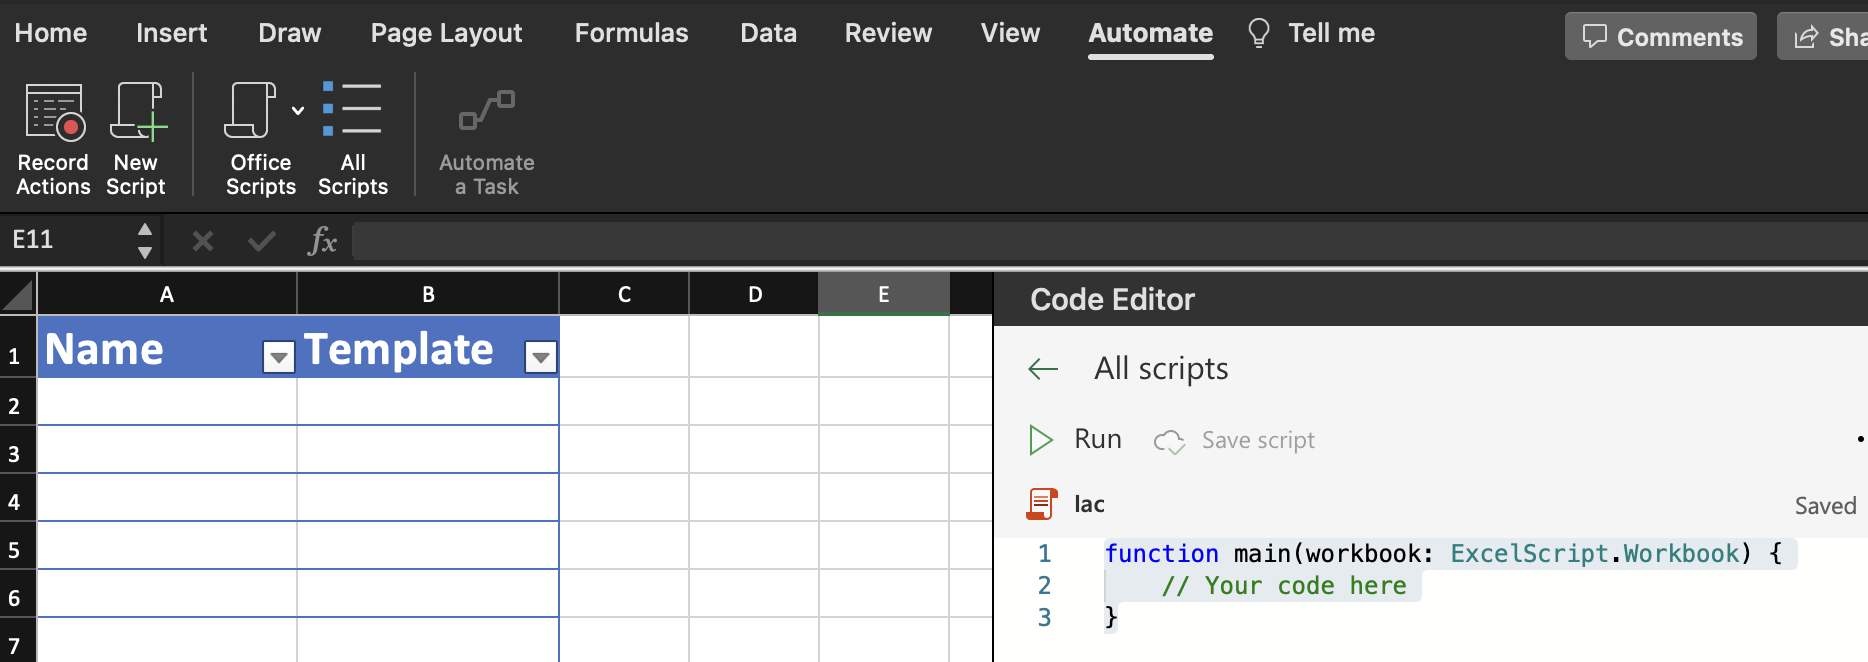
With that out of the way, we can now open the “Automate” tab on the tool ribbon and open up OfficeScript IDE by clicking the “New Script” button.
3: the code⌗
While I could go on and on about the details about the code you’re about to see, I trust my audience to be more than capable of following what’s happening here. Essentially, we are going to implement the base logic behind our spreadsheet and define all the functions needed to carry out VM deployment.
If you’d like to learn more about vSphere API you can follow this link and to discover more about the magic of OfficeScript you can visit this website
var vcenterURL = 'https://vcsa.fake.ssh.guru'
var vcenterUser = '[email protected]'
var vcenterPass = 'doNotEverDoThis4Real!'

function main(workbook: ExcelScript.Workbook) {
    var nameRow = 'A'
    var templateRow = 'B'

    // lets start small and expect up to 10 managed VMs
    for (let i = 0; i < 10; i++) {
        nameCell = nameRow + String(i)
        templateCell = templateRow + String(i)
        Console.log(deployVM(workbook, nameCell, templateCell) + " created!")
    }
}

async function deployVM(workbook:ExcelScript.Workbook, nameCell:string, templateCell:string){
    session = getVCsession()
    URL = vcenterURL + '/api/vcenter/vm?action=clone'
    const param = {
      method: "POST",
      body: JSON.stringify({
        source: getData(templateCell),
        name: getData(nameCell),
      }),
      headers: {
        "vmware-api-session-id": session
      }
    };
    const res = await fetch(URL, param);
    const newVM = await res.json();
    return newVM["vmid"]
}

async function getVCsession() {
    URL = vcenterURL + "/api/session"
    var secret = btoa(vcenterUser + ':' + vcenterPass)
    var secretHeader = "Basic " + secret
    const param = {
      method: "POST",
      headers: {
        "Authorization": secretHeader
      }
    };
    const res = await fetch(URL, param);
    const session = await res.json();
    return session
}
4: putting it all together⌗
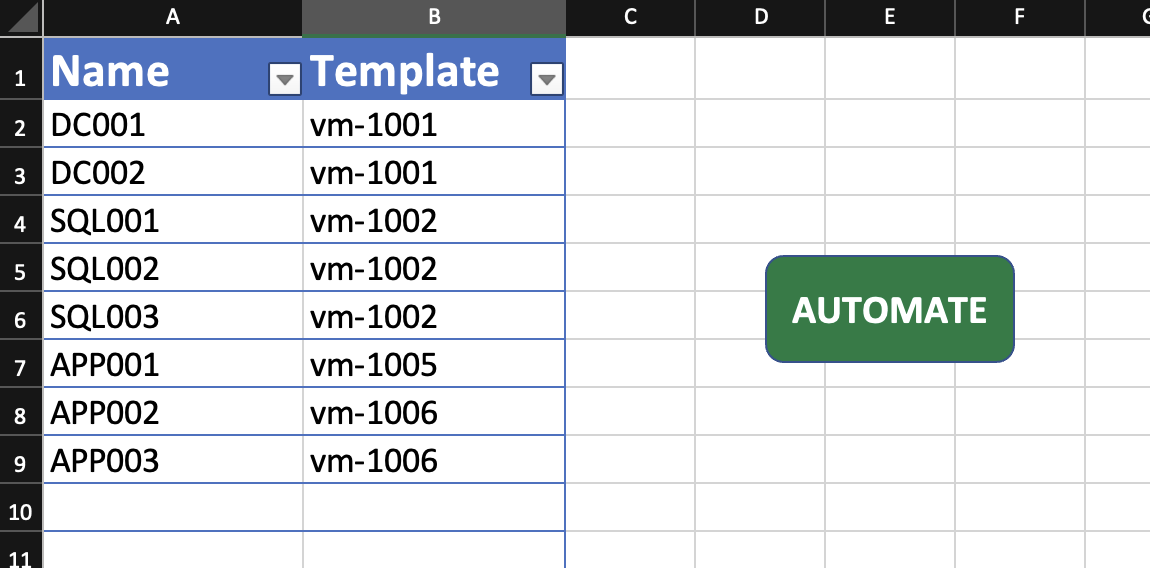
To complete our little proof of concept, we can populate the data in the spreadsheet and use the handy “add button” option on the script to create a nice starting point for our automation. Once everything’s ready, you should be looking at something like this:
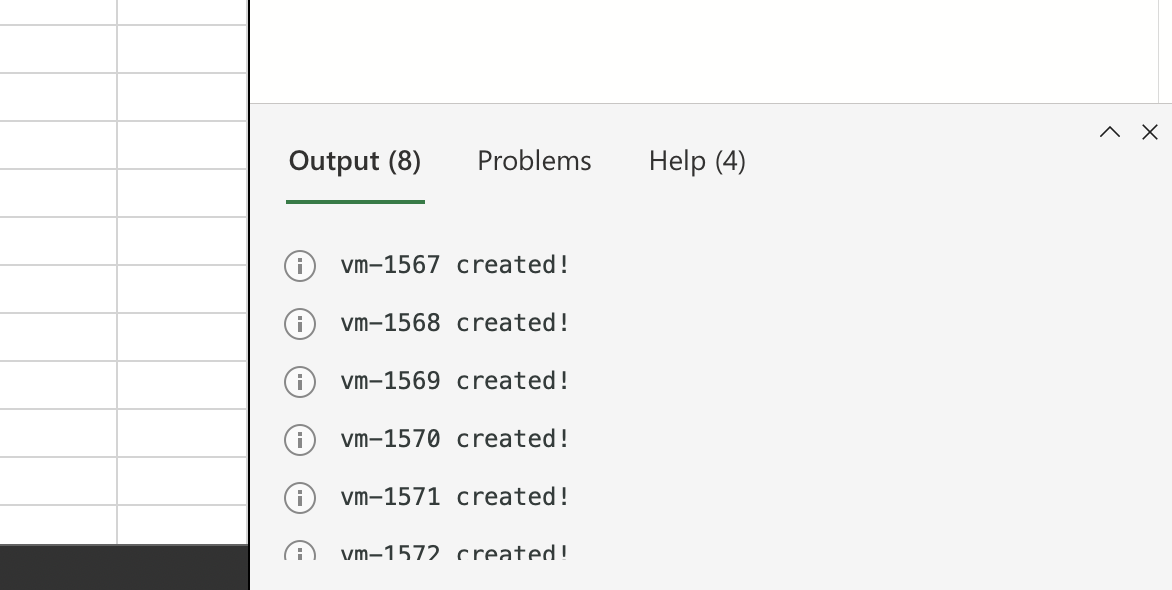
Clicking the glorious “AUTOMATE” button should in a few moments display a success message in the console output:
5: closing thoughts⌗
This obviously was a completely stupid and irrational article. Please, for the love of mankind, do not do that in prod… or dev… or anywhere aside from your homelab and even then take everything above with a grain of salt.