deploy vcsa with just esxi
the method - also works for upgrades, migrations, vcha…⌗
Before we begin, download the latest vCenter installation media and extract the ova located under /iso-mount-point/vcsa/VMware-vCenter-Server-Appliance-(xxx)_OVF10.ova.
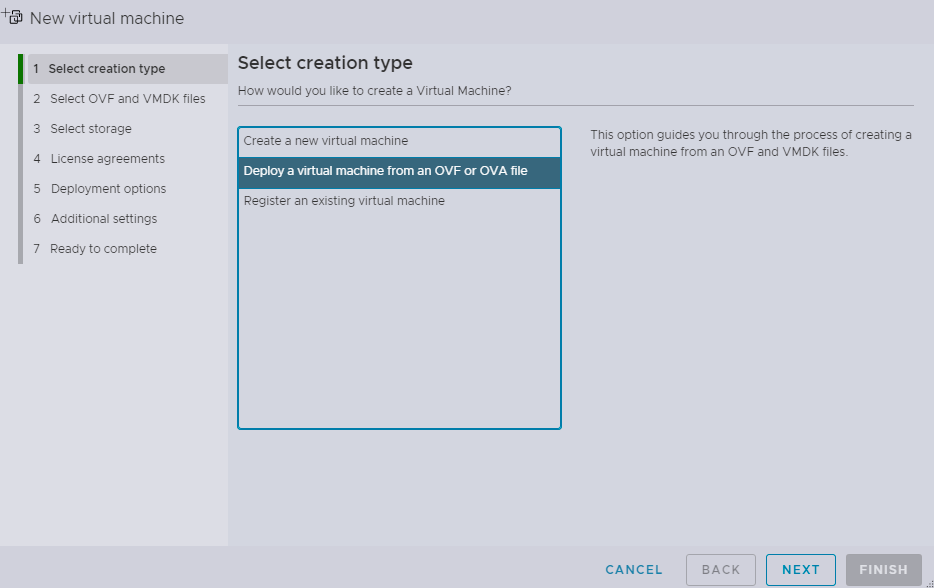
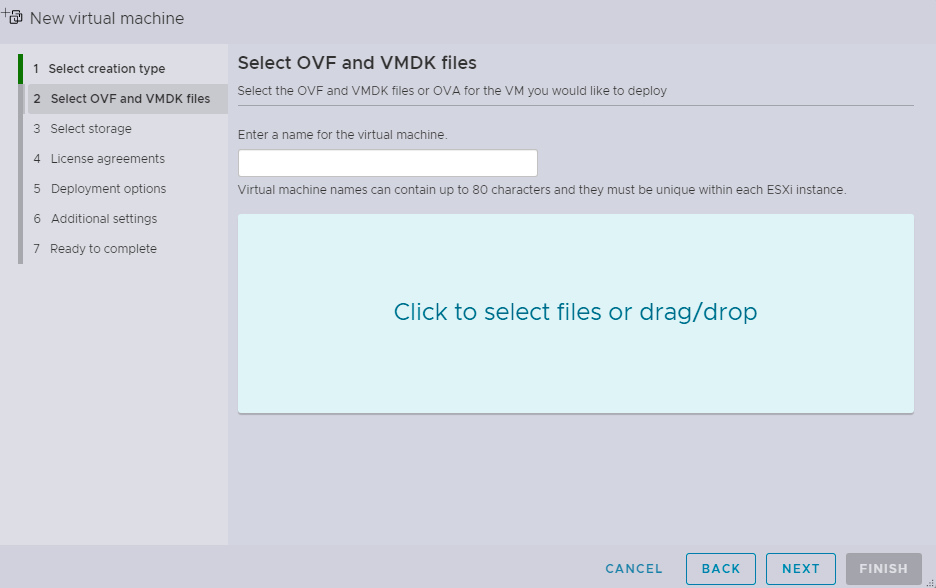
Next, open up the ESXi web client and start the Create/Register VM wizard. Select the option to deploy an OVF/OVA.
Accept the EULA and proceed to appliance size and network selection screen. You can also choose whether the appliance should be thick or think provisioned as well as whether it should be powered on upon deployment.
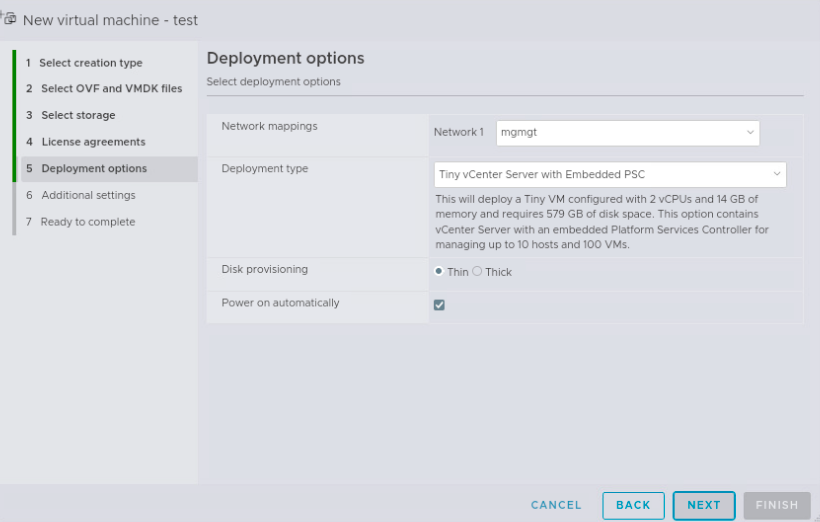
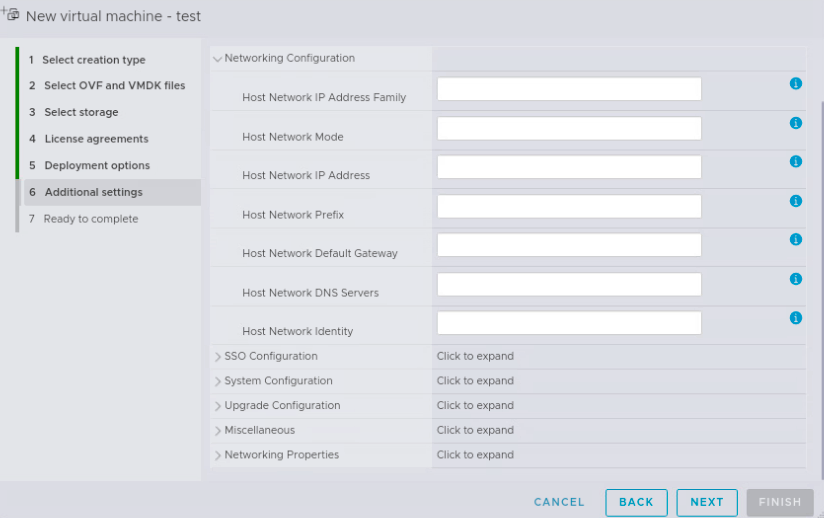
On the following screen you can then input all stage 1 configuration details - these are pretty much the same as the parameters you’d expect to set in the CLI deployment json except for settings exclusive to stage 2 (SSO etc). What’s worth noting here is that you can not only just install a new vCenter server with this method but also configure an initial vSAN cluster, vCenter HA, and perform a vCenter migration/upgrade.
Now, allow the appliance to deploy. This can take up 30min or so - be patient. You want to wait until the console displays the usual two-tone UI of a vCenter server
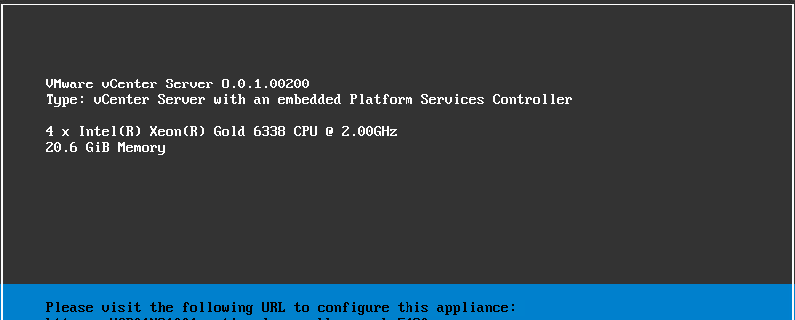
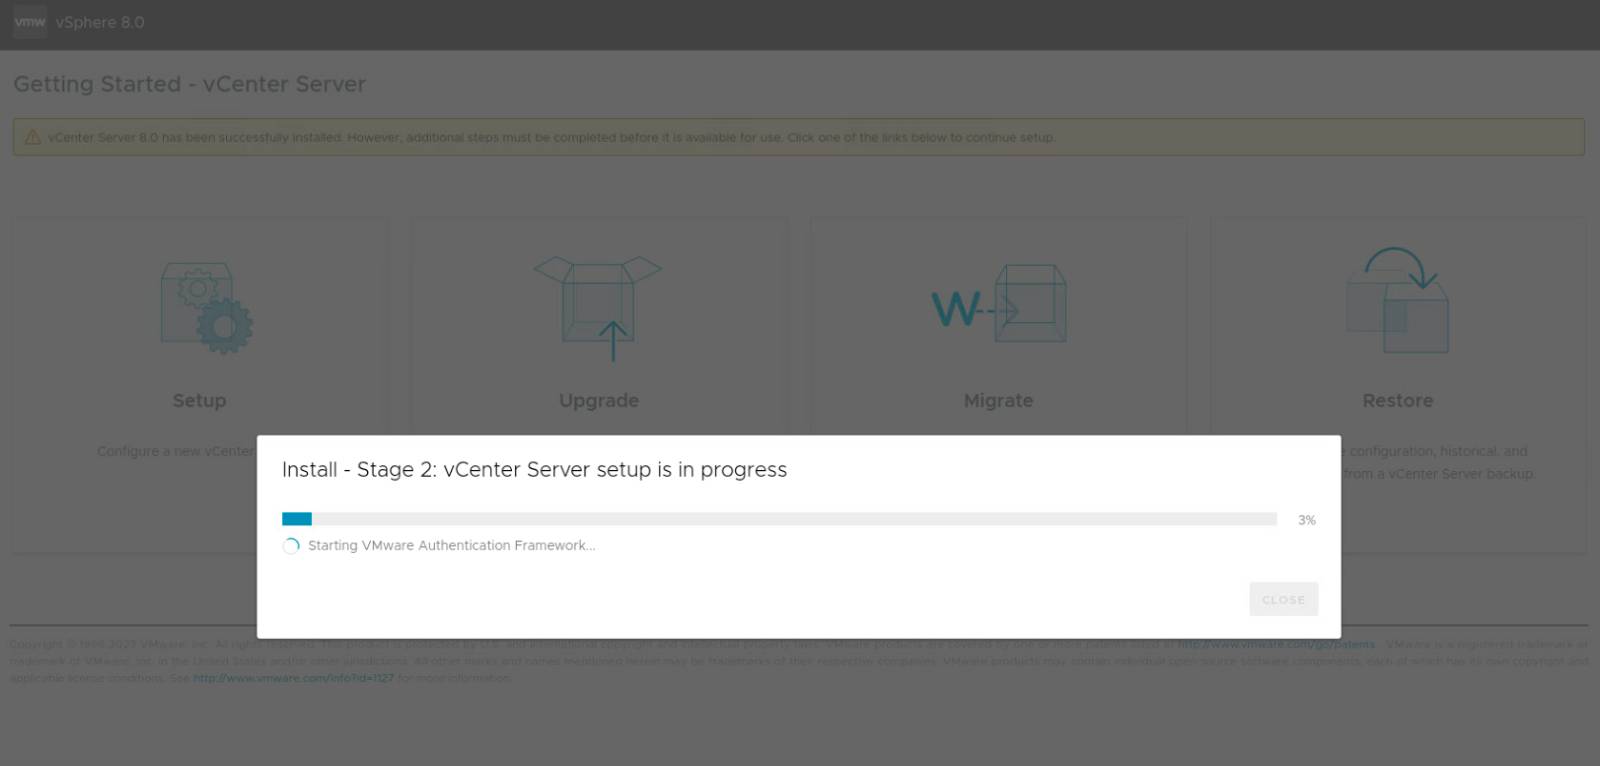
Finally, open up your browser and navigate to https://vcenterfqdn:5480 to continue stage 2 of the installation as usual - nothing specific here; at this stage your deployment workflow is pretty much the same as with a normal GUI deployment.