SFTP Linux Server Setup
I’d like to dedicate this post to my dear friend – C.P. – who once said:
”How the f!!k do you setup FTP on this stupid OS”
His words game me inspiration, an idea for the best post this blog will ever be a home of: How to setup an SFTP server in the fastest, easiest and just secure enough to be acceptable.
Without any further introduction, let’s begin:
1. The operating system⌗
In this example, we’re going to use the same OS as always – CentOS 7, which you can get the .iso file for it from the official CentOS Project website I suggest you should select the minimal .iso in this case, as we won’t be really using any extra features of CentOS, however you might want to get DVD or Everything .iso if your internet connectivity is slow or restricted.
After downloading the .iso file, we can get in on either a DVD disk or USB. I prefer to always use USB sticks, however feel free to burn the .iso to a DVD disk if you feel like it. Putting the .iso file onto a USB drive can be achieved either using Rufus on Windows or dd command on Linux/OS X:
sudo dd bs=4M if=absolute/path/to/iso of=/dev/yourusbid status=progress oflag=sync
Once we get the CentOS installation media ready, we can start setting it up on either a VM or a physical machine which is going to be our SFTP server.
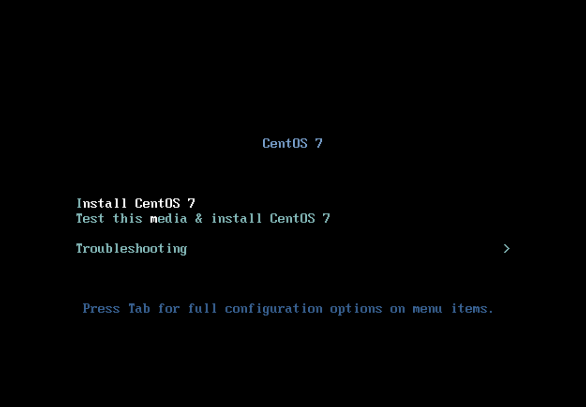
After selecting the USB drive/DVD/iso file as the boot device, the first thing we’re going to see is the screen below, where you can select to either go straight to the OS installation or test the media first and then install. Feel free to choose whichever suits you:
After a while, the system will load the basic installation scripts, drivers etc. and continue to the main GUI.
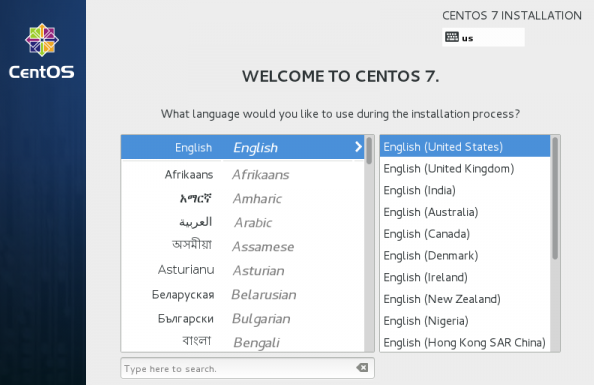
First thing we need to do in the main installation interface is to select a language and the keyboard layout
 )
)
The next step, present screen prompt is Installation Summary. It contains a lot of options to fully customize your system.
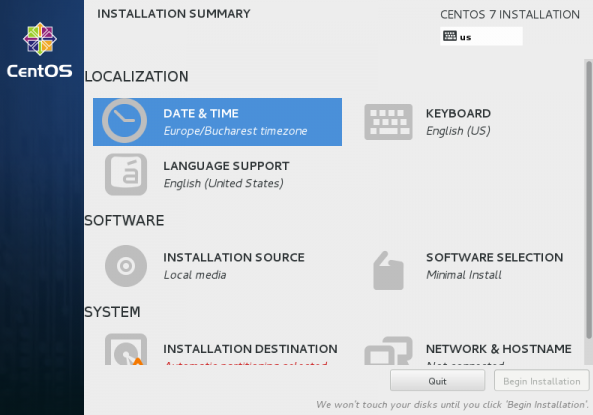
As you’ve probably guessed by now – most of the options in the “Localization” category are already configured at this point. The only thing you might want to double check is “Date & Time” as sometimes the installation script guesses it incorrectly.
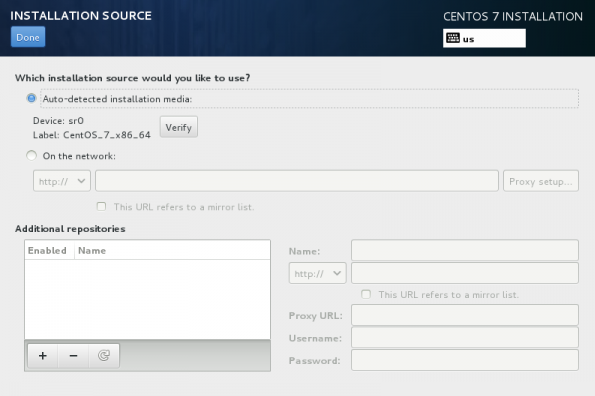
The second category – “Software” – is where the real fun begins. Here you can play around with two really important installation options: the “Installation Source” and “Software Selection”.
-
Installation Source – this can be very useful for those of you having a local CentOS repository; for everyone else – not so much. The default setting will work without any issues in most environments.
-
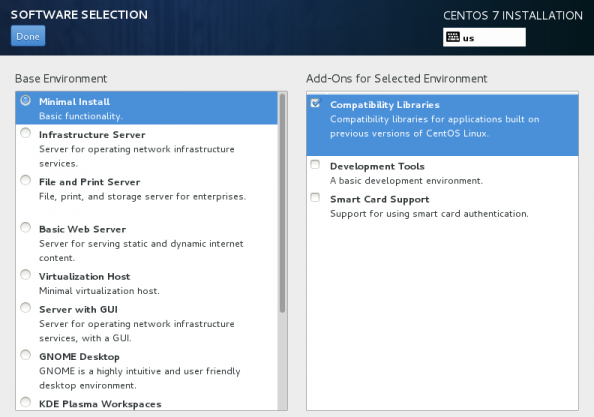
Software Selection – here’s something fun: choosing the applications to be installed along with the OS. In this guide, all we need is only the “Minimal Install” with “Compatibility Layer” add-on. You can browse through the other categories to see what else CentOS has to offer. If you wish to have a desktop user interface in your system, select “Server with GUI” or “GNOME Desktop”.
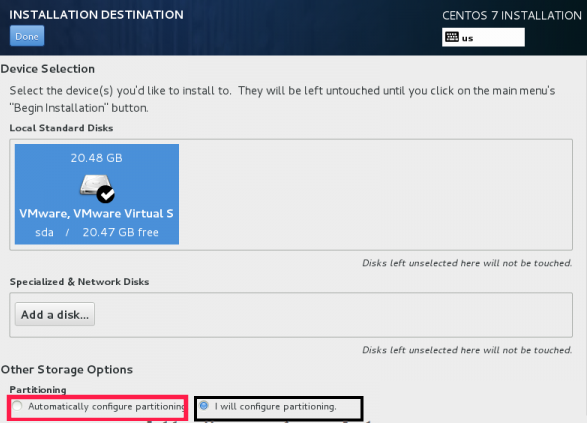
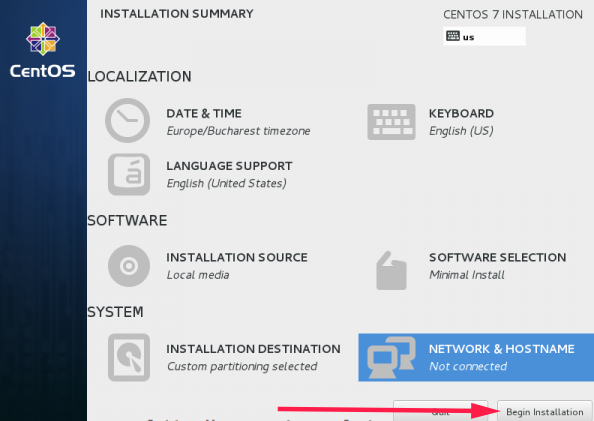
Ok, we’re nearly finished. The last two steps we need to take in here are drive partitioning and network configuration. Let’s start with drive partitioning:
Drive partitioning can be two things – an easy journey or a metal exercise. If you wish to just get on with it and don’t care about the specifics, select the “Automatically configure partitioning” (red); however, if you belong to the poor souls who wish to create the partition table themselves, select “I will configure partitioning” (black). I won’t be going through all the configuration options in the manual partitioning approach, as this is a bit too big of a topic for a quickie. Select “Done” after you make all the necessary changes in this wizard.
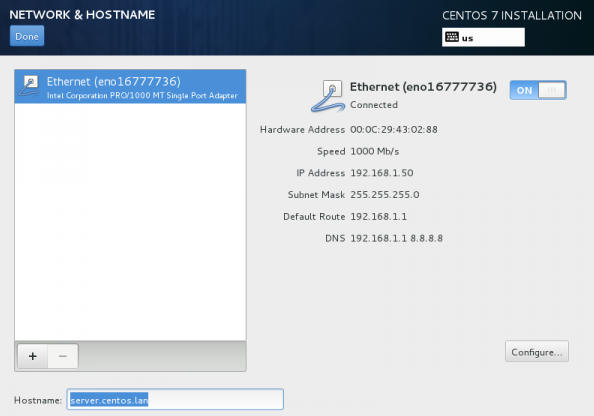
Lastly, in the network configuration wizard you can select all the usual network-related stuff – IP address, subnet mask, default gateway, DNS servers and the hostname for your CentOS installation. If you’re happy with what DHCP provided you with, you can safely click “Done” and then “Begin Installation” in the main menu.
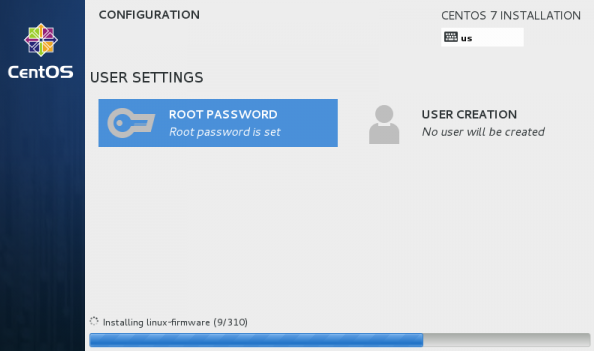
After pressing that button, the installation will begin getting CentOS files onto your disk. In the meantime, you can configure the users for the OS.
 )
)
The most important and the only required user to be configured is root. The root user is the top-level administrative account, which is allowed to do basically everything within the OS. It is highly suggested to only use the root account when it is absolutely necessary and regular user accounts for all the other tasks.
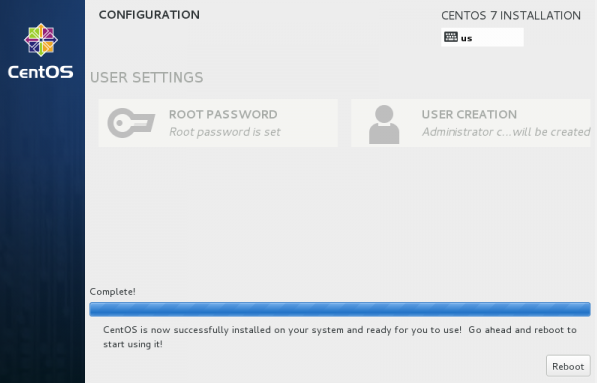
After setting up the users (and waiting approx. 30min), the installation of the CentOS 7 Linux is complete. Selecting the “Reboot” button will restart your system and launch some post-installation scripts.
2. SFTP Configuration⌗
As mentioned in the intro, this guide is to get SFTP working as soon as possible, so please don’t expect this guide to be the best ever in terms of security and/or reliability.
Having that said, after the freshly installed CentOS finishes booting up, log into it to begin setting up the SFTP.
Unlike normal FTP, there’s no need to install additional packages in order to use SFTP. We just require the prebuild SSHd package that got already installed during the OS installation. Therefore, the steps needed are quite simple.
Firstly, edit thesshd_config file in /etc/ssh/sshd_config:
[administrator@server]# sudo nano /etc/ssh/sshd_config
The above command – nano – will open up a simple WYSIWYG text editor which you can use to edit this configuration file. I’m using the sudo operand to escalate the administrator user account privileges to root-level, which means you shouldn’t include it if you’re already logged in as root.
Add a line in the Authentication section of the file that says PermitRootLogin yes. This line may already exist and be commented out with a “#”. In this case, remove the “#”.
# Authentication:
#LoginGraceTime 2m
PermitRootLogin yes
#StrictModes yes
#MaxAuthTries 6
#MaxSessions 10
Save the changes and exit the nano editor by pressing CTRL+X.
The last thing we need to dois to restart the SSH service. This can be done with the following command:
sudo service sshd restart
3. That’s it!⌗
Yes, that’s really that simple. You can use now all the account you created during CentOS installation to access the files on your server.
By default, the root account is going to have an access to all the files in all directories, while the users accounts will only have an access to their home folder.