Homelab Part 2 - ESXi on ESXi
Here’s a follow-up to my previous Homelab 2.0 post in which we are going to take a look at an alternative approach – nesting VMware ESXi VMs on an ESXi host. This approach to a nested homelab environment can be much simpler for those lucky enough to have hardware officially supported by ESXi.
You can find the previous post where I described similar process with CentOS 7 as the host OS here: Homelab Part 1 - Nesting
The host we are working on in this series has 32GB of RAM, an Intel Xeon CPU and 300GB SSD.
1. VMware ESXi installation⌗
Installing VMware ESXi on the host machine is probably going to be the easiest part of our journey. The only thing you have to keep in mind is that a “vanilla” ESXi installation media doesn’t have as many hardware drivers as RedHat, CentOS or Windows Server iso, meaning you can run into issues if your hardware is not supported. Before getting your .iso, please check if your host hardware is supported. If not, you should consider getting a vendor iso (HP, Fujitsu, Lenovo etc.) or modifying the iso yourself (ESXi ISO Customizer).
For starters, we need to get a copy of VMware ESXi installation iso, which can be downloaded from the official VMware Website
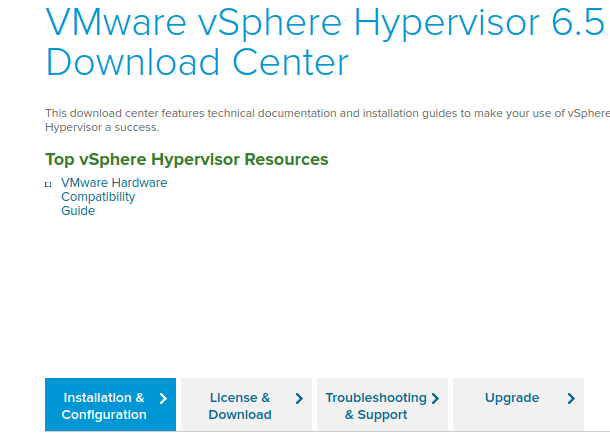
Please note you need to purchase a vSphere license to get this iso file. VMware does provide NFR licenses for students or professionals looking to setup a lab but this process is not as simple as with other software companies. Worst case scenario, you can apply for a free 60-day trial which will allow you to download the iso and test all the features of vSphere and ESXi for the time specified.
After downloading the .iso file, we can get it on either a DVD disk or USB drive. I prefer to always use USB sticks for OS installations, however feel free to burn the .iso to a DVD disk – in both cases the installation looks the same. Putting an .iso file onto a bootable USB drive can be done by either using Rufus (Windows) or dd command (Linux/OS X).
Once we get our ESXi installation media ready, we can start working on the host. To boot ESXi installation on my host, all I had to do was pressing ESC during POST and selecting the USB drive as a boot device, however depending on your motherboard, you might need to take some extra steps (enabling legacy boot, changing boot security settings etc.).
The ESXi installation process is described very well on the official VMware website. There are no extra configuration steps needed at this point, so feel free to follow the guide below:
VMware ESXi 6.5 Installation & Configuration
After the installation finishes, reboot your host and log into the ESXi system.
2. ESXi Configuration & enabling nested virtualization⌗
As our lab will be virtualizing most of the typical infrastructure components, you should leave the host ESXi hostname and DNS settings untouched. Setting up a domain and connecting the hosts to it will be explained in Part II of this series. This process may be considered difficult by some (oh the DNS horrors), but we’ll get straight through it. Link to this will be added here later on.
Enabling nested virtualization in ESXi on the other hand is very simple. Firstly, we need to enable both promiscuous mode on the vSwitch and forged transmits. This will enable the VMs hosted on the nested ESXis to reach the network.
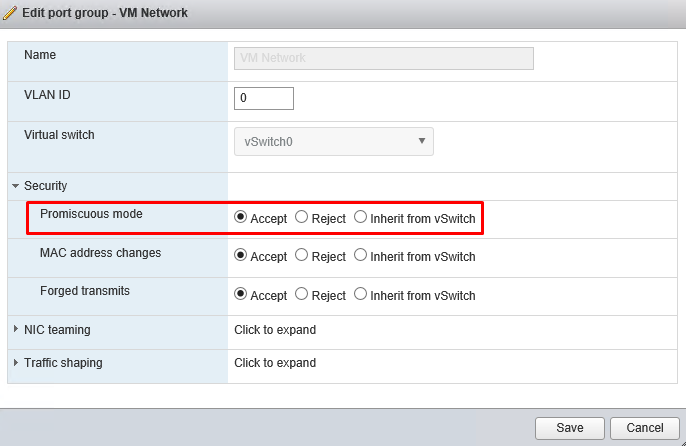
Without these modes enabled, the “double nested” VMs would never get any packets because…
By default, a guest operating system’s virtual network adapter only receives frames that are meant for it. Placing the guest’s network adapter in promiscuous mode causes it to receive all frames passed on the virtual switch that are allowed under the VLAN policy for the associated portgroup. This can be useful for intrusion detection monitoring or if a sniffer needs to analyze all traffic on the network segment.
The second step, which we need to take to enable virtualization within ESXi VMs on a ESXi host, is even simpler. During the virtual machine creation wizard, on the very last page (hardware), please make sure to select the following option:
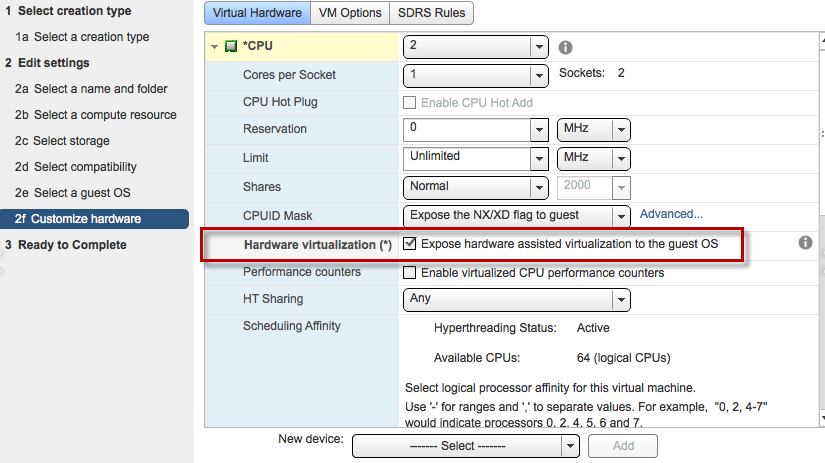
Which can be translated to: let this VM virtualize other VMs 🙂
3. Some notes on ESXi VMs⌗
Creating an ESXi VMs at this point is exactly the same as creating any other VMs in VMware ESXi. In this series I’ll be working off two ESXi VMs, so I suggest you do the same if you’d like to follow my exact setup.
As the host I’m using has 32GB of RAM available, I assigned 16GB of RAM to each ESXi VMs, however if your host does not have that amount of resources available, you can safely lower that amount to even 4GB.